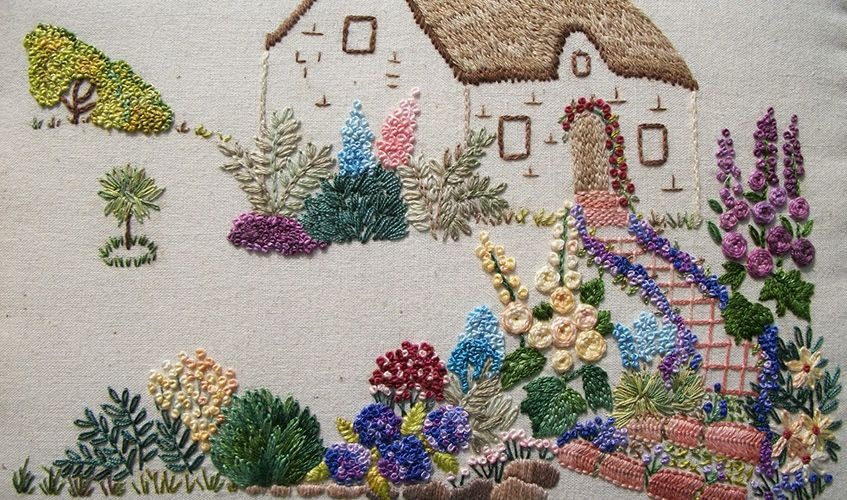
What is embroidery?
Machine embroidery is an embroidery process whereby a sewing machine or embroidery machine is used to create patterns on textiles. It is used commercially in product branding, corporate advertising, and uniform adornment. It is also used in the fashion industry to decorate garments and apparel. Machine embroidery is used by hobbyists and crafters to decorate gifts, clothing, and home decor. Examples include designs on quilts, pillows, and wall hangings.
There are multiple types of machine embroidery. Free-motion sewing machine embroidery uses a basic zigzag sewing machine. Designs are done manually. Most commercial embroidery is done with link stitch embroidery.[1] In link stitch embroidery, patterns may be manually or automatically controlled. Link Stitch embroidery is also known as chenille embroidery, and was patented by Pulse Microsystems in 1994. More modern computerized machine embroidery[2] uses an embroidery machine or sewing/embroidery machine that is controlled with a computer that embroiders stored patterns. These machines may have multiple heads and threads.
Our Embroidery Services Process
Step 1: Your Concept
Logo/Design:
As with screen printing and any of our other services, each project begins with you and your vision for the apparel that you order.
Most companies come prepared with their own logo to be embroidered. This is extremely helpful because it means that all we need to do is get the logo digitized for embroidery so the machine can read the design.
If you don’t already have your own logo, let us know and we will work with you to get you what you need.
Once we know the logo you want on your garments, we will create a digital mock up of what your finished order is going to look like. Your job is to approve all aspects of this approval form to let us know that we are good to go!
Apparel Type:
You may be wondering what types of things you can even have embroidered. I have experience with a wide range of products from polos to saddle pads for horses!
Here are some of the common things that I embroider:
- Polos
- Hoodies
- Team warmup jackets and pants
- Hats
- Beanies
- Backpacks
- Bags
- Aprons
- Jackets
- Vests
If what you are thinking of getting embroidered is not on this list, contact one of our sales people to see if it is something that we can accommodate.
Step 2: Set Up Design File

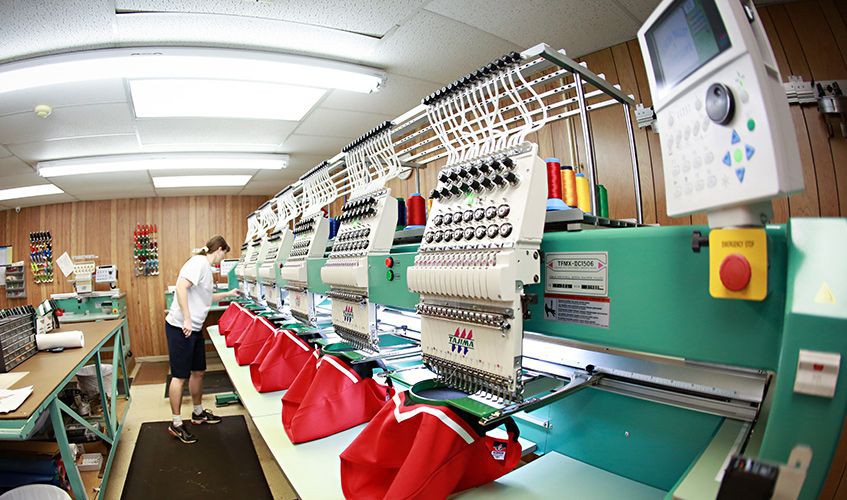
There is a small computer on each of the embroidery machines that reads the design files. I use USB drives to transfer your design from the main computer to the one on the embroidery machine. Once I have inserted the USB, I can select the thread colors for each part of the design. Each embroidery head has 15 needles, so although I haven’t seen anything close, we could potentially sew a design that has up to 15 different colors! (Most designs are between one and three colors.)
Step 3: Hoop

Hooping is when I secure the garment in a hoop, which holds the fabric tight. The hoop snaps into the machine to keep the garment in place. Most garments also require backing to be hooped along with the garment, which will be either cut or torn away after the item finishes sewing. The backing lends structure to the garment, so the machine has something substantial to sew on.
Step 4: Trace it Out
Once the garments are hooped, I place them on the actual machine. This is when I double check that the design will be centered within the hoop and placed correctly on the garment. Luckily, I can check all of this without having to sew out a test design. Instead, the machine allows me to trace the outline of where the design will be placed within the hoop. If the tracing is not to my liking, I can adjust the starting point as much as I need to until it is in the right place.
Step 5: Sew the Design

This is the point we have been working toward: sewing out the design! All that’s necessary to do on this step is to press the green “Start” button and the embroidery machine takes it from there.
Occasionally, the machine will have to stop mid-sew if it runs out of bobbin thread or encounters another problem. In that case, it generally only takes a few seconds to fix the problem and start it up again.
Step 6: Trim Backing & Threads

Once the design is fully sewn out, I take each piece off the machine and remove the hoop from the garment. This is when I put the finishing touches on the piece by cutting away or removing the backing. Many designs will also have some threads that are not part of the design, but they go between the letters or other elements of the design. I use trimming scissors with very pointy ends to carefully cut away these unnecessary threads to make sure the final product looks clean and professional.
Finished embroidery pieces are then neatly folded and packed into boxes or our branded bags with a few extra goodies for you to enjoy!
Our Embroidery Design Samples